
Kitchen Tiling & Splashbacks Auckland
Tiled splashbacks and kitchen floors, done properly. We design, supply and install kitchen tiling across Auckland.

Auckland kitchen tiling
When you need kitchen tiling
The kitchen is the hardest-working room in the house, and the tiling has to keep up. A splashback cops grease every day of its life. Steam too, and the heat coming off whatever’s on the hob. The floor has it worse. Dropped pots. Dragged chairs. Foot traffic no hallway will ever see. People call us mid-renovation when the new benchtop is in and the wall behind it is bare. Or the old acrylic splashback has warped next to the gas hob. Or the kitchen floor needs to flow into an open-plan living area without a clumsy seam in the middle.
Kitchen tiling is also where rules quietly apply. There are real clearance requirements around gas hobs, and the wrong splashback material next to a burner isn’t just ugly. It’s a fire risk. We handle the lot, from a single splashback to a full kitchen floor, all part of our wider Auckland tiling service.
What we handle
Kitchen work we take on
From one splashback to a full open-plan floor, here’s the kitchen work we take on across Auckland.
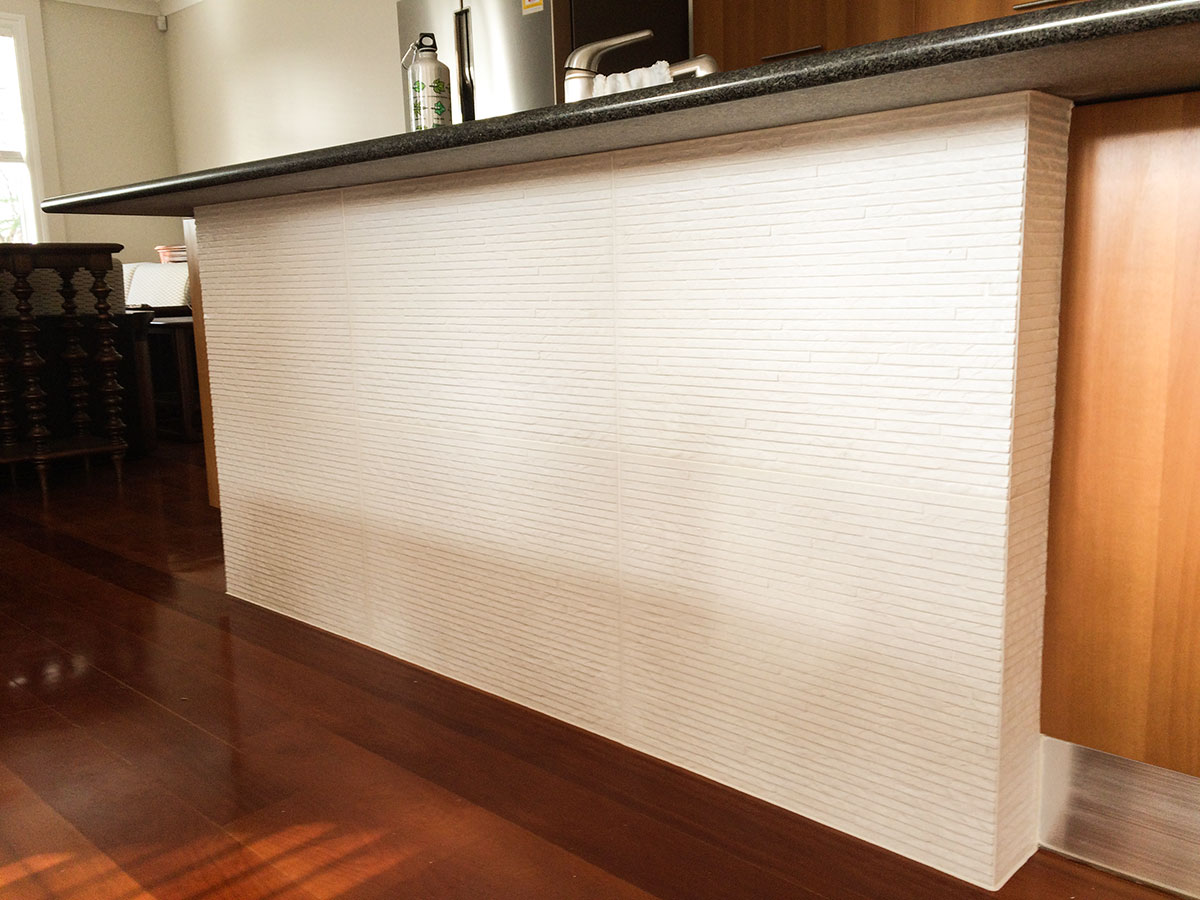
Tiled kitchen splashbacks
The splashback is the hardest-working square metre of tiling in your house. We tile from the benchtop right up to the underside of the cabinets or rangehood, full height, so there’s no strip of painted wall waiting to stain. Edges get proper trims. Powerpoints get cut in cleanly. And where the tiles meet the bench, flexible silicone goes in rather than rigid grout, because benchtops move and grouted corners crack. If an existing splashback only needs its grout freshened up, that’s a grout repair job, and it’s a cheaper one.

Splashbacks behind gas hobs
This is where kitchens fail inspections. The gas standard requires any surface within about 200mm of a burner edge to be non-combustible, protected to at least 150mm above the burner, and a new install needs roughly 650mm of clearance up to the rangehood. An acrylic panel doesn’t comply there. Neither, surprisingly, does glass glued over timber, because heat conducts straight through it and whatever sits behind has to stay under 65 degrees. Tile on fibre cement passes that test properly. That’s why a tiled splashback is still the clean answer behind a gas hob.
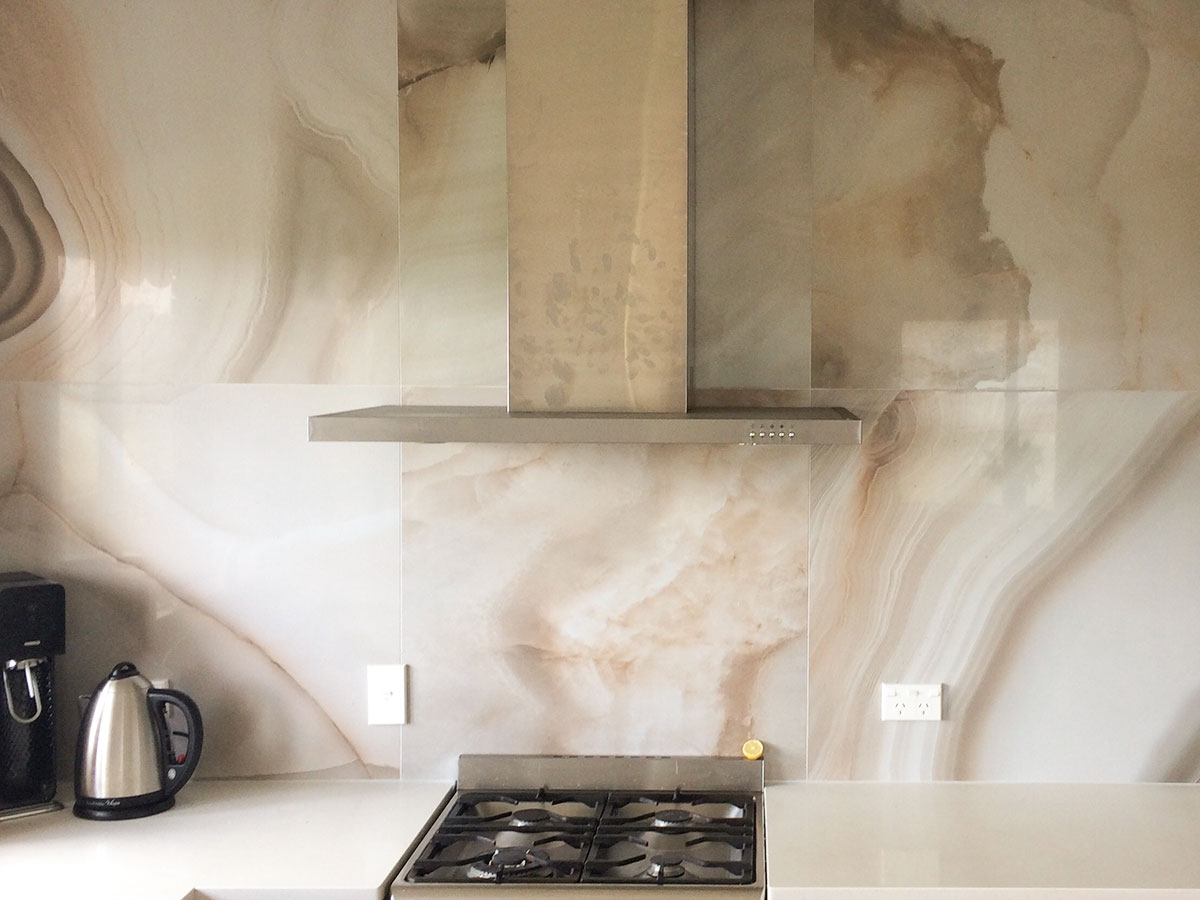
Kitchen floor tiling
Picture an open-plan kitchen where the tiles run clean through to the dining area with no transition strip interrupting them. That’s the job porcelain was made for. It outwears ceramic underfoot and doesn’t flinch at a dropped pot, and it pairs happily with underfloor heating. The catch is movement. A big open-plan floor needs movement joints in the right places or the tiles will eventually tent and crack, so we plan the joints into the layout where you’ll never notice them.
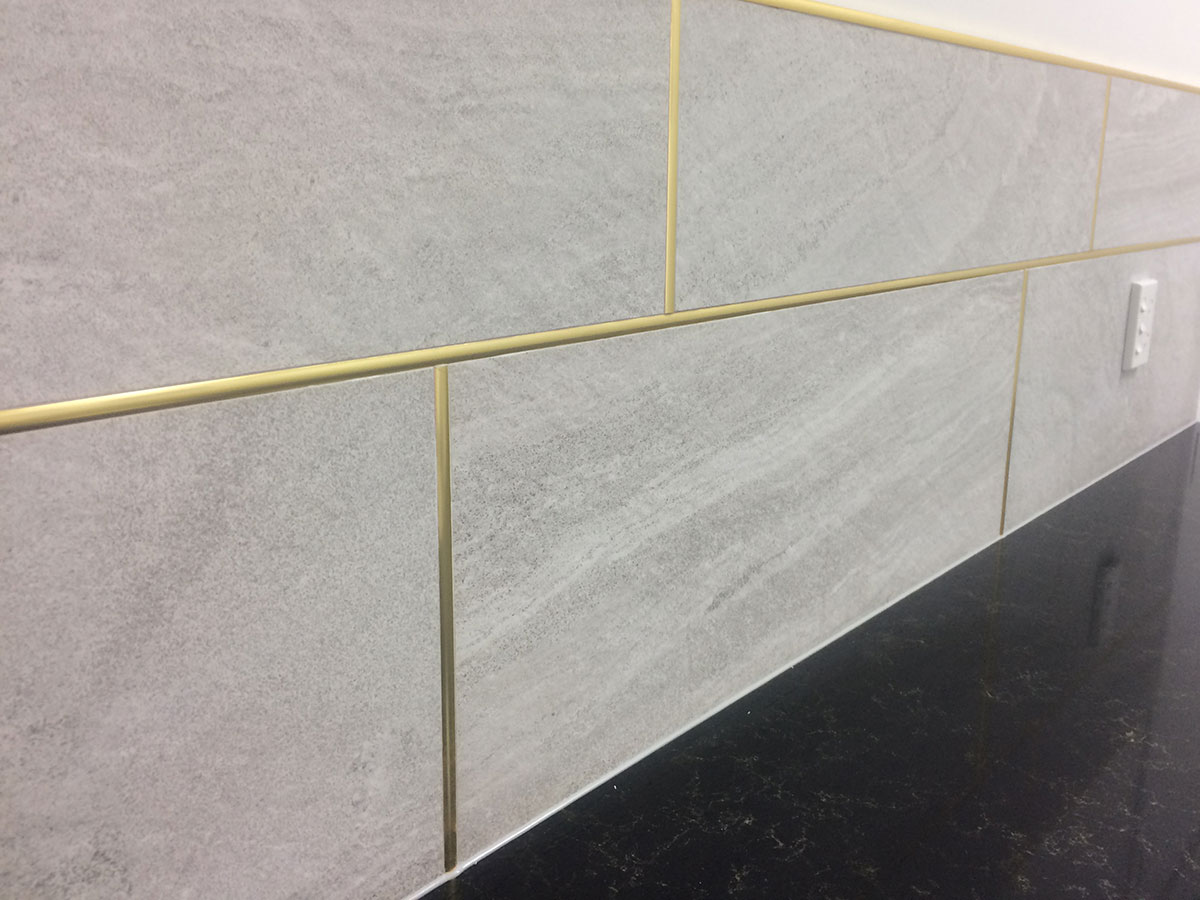
Tiling over an existing splashback
Do you have to rip the old splashback off first? Usually not. A sound glass splashback can be tiled straight over, and so can old tiles. The surface gets degreased and cleaned right back, primed with a bonding primer made for non-porous surfaces, then tiled as normal. No demolition. No wall repair afterwards. Where the old surface is loose or warped, or the wall behind it is damaged, we’ll tell you, because tiling over a failing surface just buys you a second failure.
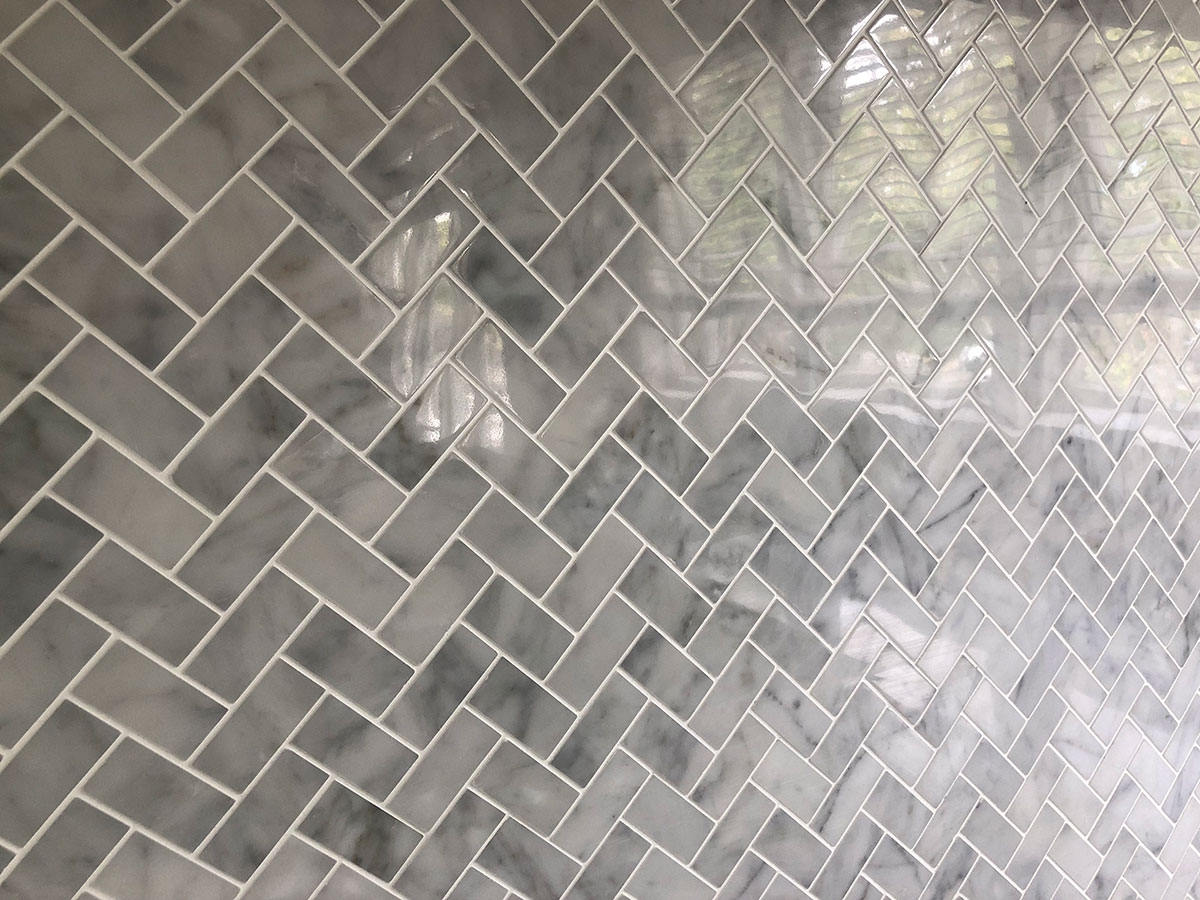
Butler’s pantries and laundries
Alongside the kitchen proper come the splash zones nobody photographs. A butler’s pantry gets the same steam and splashes as the kitchen it hides behind, and a laundry sink throws water around like it’s paid to. These rooms need the same impervious, easily cleaned surfaces around their sinks and benches. We tile them to tap height or full height, matched to the kitchen or deliberately different.

Tile choice and style
Most splashback regrets are style regrets, not workmanship ones. Subway is the safe classic, and it doesn’t have to be laid like a train station wall. Stack it vertical or run it herringbone and the whole kitchen changes. Handmade-look zellige brings texture flat tiles can’t. Large-format porcelain gives you almost no grout lines at all, though heavy large-format tiles can exceed what standard plasterboard is rated to carry, so we check the substrate before you order the tile. And we’ll tell you straight what wipes clean behind a cooktop versus what just looks good in a photo.
Kitchen tiling across Auckland
Kitchens take us everywhere. South and East Auckland, from Papakura and Takanini through Manukau, Howick, Pakuranga and Botany. Central suburbs like Remuera, Ellerslie, Epsom and Mount Eden. Out west through Henderson and New Lynn, and across to the North Shore.
The jobs themselves vary as much as the suburbs do. One week it’s a villa where the kitchen has moved into what used to be a bedroom. The next it’s a seventies brick-and-tile getting its walls opened up, or an apartment where the body corporate wants paperwork before anyone lifts a tile. We work with all of it. If your suburb isn’t listed, ask. The answer’s usually yes.
How it works
What to expect
Measure and plan
First we look at the space, the substrate and the appliances. Gas hob clearances get checked at this stage, not after. If your benchtop isn’t in yet, we sequence around it, because the bench goes in before the splashback ever should.
Set out and prep
Then the setout. We balance the tiles on the wall so the cuts land where you won’t see them, mark the powerpoints, and fit fibre cement behind the hob where it’s needed.
Tile and grout
Next the tiling itself, then grout. Behind a cooktop we’ll usually suggest epoxy, because cement grout drinks grease and epoxy doesn’t.
Seal and finish
Last, flexible silicone at the bench junction and the corners, a final clean, and a walk-through.
Done properly
Why choose Hi Tech Tiling
A kitchen splashback looks like a small job. That’s exactly why so many get botched. Wrong material next to a gas burner. Grout where silicone should be. Tiles ordered before anyone checked what the wall could carry.
We do kitchens as tilers who know the rules: the clearances around gas appliances in the gas installation standard, the impervious surfaces the Building Code expects near sinks and benches, and what a given wall can actually hold. Retiling a kitchen is exempt maintenance so there’s no consent drama, but if your renovation moves plumbing we’ll flag what that means before work starts.
We design, supply and install. Our workmanship is guaranteed. And we’d rather talk you out of a fashionable tile that will annoy you in two years than sell it to you.
Good to know
Kitchen tiling questions, answered
Can you tile over my existing glass splashback?
Often, yes. If the glass is sound and well adhered, it gets degreased, primed with a bonding primer for non-porous surfaces, and tiled over like any other wall. No demolition, no wall repair. If the old splashback is loose or the wall behind it is damaged, tiling over it would just hide a problem, and we’ll say so.
What are the rules for a splashback behind a gas hob?
The gas standard sets real clearances. Surfaces within about 200mm of a burner edge must be non-combustible and protected to at least 150mm above the burner, and a new rangehood needs roughly 650mm of clearance above the hob. Tile over fibre cement meets the non-combustible requirement properly. Acrylic panels and paint don’t. Glass over a timber-framed wall isn’t automatically compliant either.
Will the grout get greasy behind the cooktop?
Cement grout will, eventually, because it’s porous. That’s why we usually recommend epoxy grout in the cooking zone. It shrugs off oil and it handles the heat cycling next to a burner. It’s fussier to install, so we suggest it where it earns its keep rather than everywhere.
Should I pick subway tiles or something more interesting?
Subway is popular because it works, but laid vertically or in herringbone it stops looking like every rental bathroom you’ve seen. Zellige and finger tiles bring texture that flat tiles can’t. Large-format porcelain nearly eliminates grout lines. Bring us a photo you love and we’ll tell you what it takes to build it, including whether your wall can hold it.
Do I need building consent to retile my kitchen?
For the tiling, no. Replacing a splashback or retiling a floor is exempt maintenance under the Building Act. The consent question appears when a renovation relocates plumbing or fixtures, and that part needs authorised trades regardless. We’ll flag it early if your plans head that way.
When does the splashback go in, before or after the benchtop?
After. Always. The benchtop gets templated and installed first, then the splashback is tiled down to meet it with a clean silicone junction. Tiling first leaves you praying the bench lands exactly where the tiles assumed it would. It rarely does.
Talk to Hi Tech Tiling
Planning a new kitchen, or staring at a splashback you hate? Send us a photo or book a look, and we’ll give you a straight answer on what it needs. Call 021 681 166 or send through the details.
Hi Tech Tiling, 3 Bellfield Road, Ōpaheke, Auckland 2113. Phone 021 681 166.