
Floor Preparation & Screeding Auckland
Flat, dry, solid. Every good tiled floor in Auckland started as a properly prepared substrate, and that’s the part we take seriously.

Auckland floor preparation
When you need floor preparation
Ask any tiler what causes cracked tiles and drummy floors, and the honest ones will tell you it’s almost never the tiles. It’s what’s underneath. Big tiles show every lip when the floor under them isn’t flat. Glue anything to a slab that’s still holding moisture and it lifts. And a bouncy villa floor? That cracks grout lines like clockwork.
Floor preparation is the unglamorous stage between the substrate you have and the tiled floor you want, and it decides how long that floor lasts. Builders call us for screeds and levelling on new builds. Homeowners usually meet this page after something has already failed, or when a quote from us includes a prep line they want explained. Either way, this is the work under the work. The half of tiling nobody photographs.
What we handle
Prep work we take on
From a slurry-bonded screed to a self-levelling pour over heating cables, here’s the prep work we take on across Auckland.
Sand-cement screeds
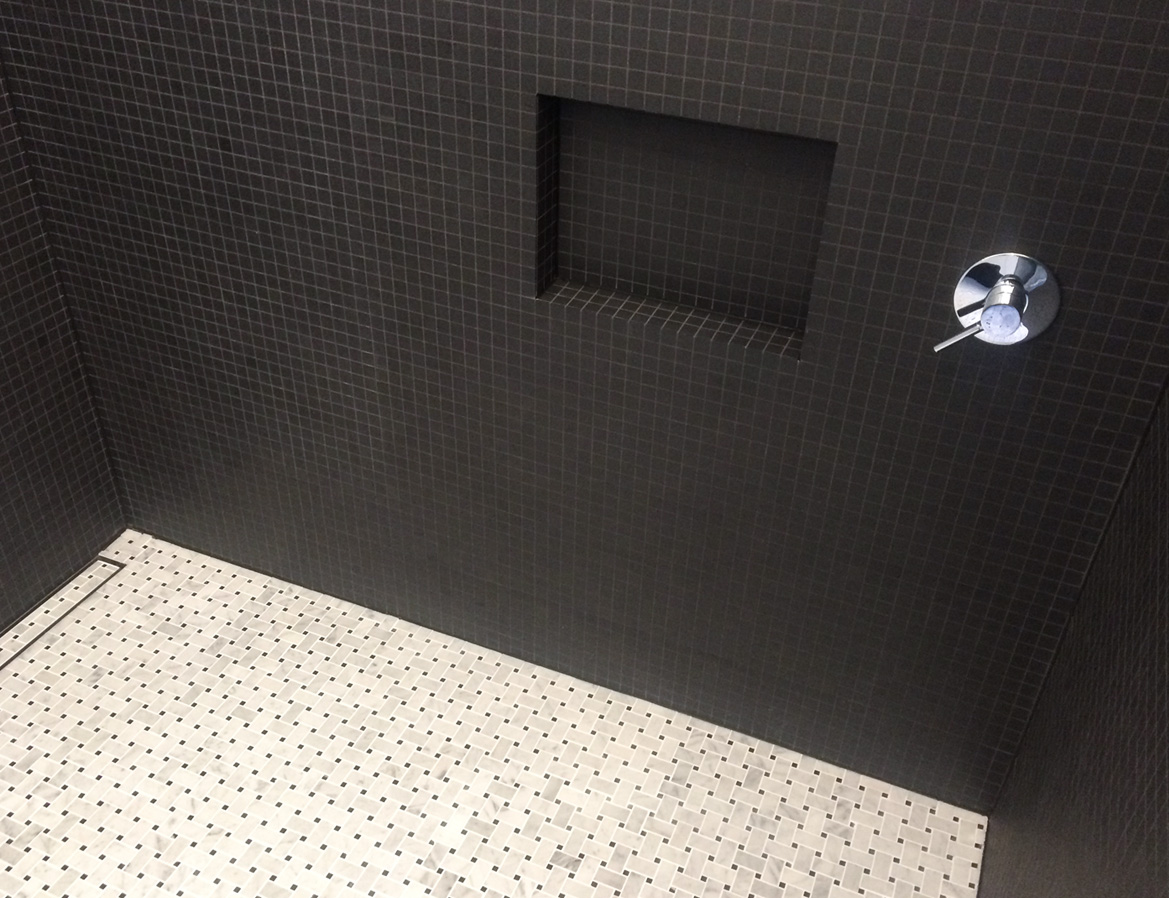
The traditional screed is still the workhorse. Bonded to a concrete slab, it levels rough surfaces and builds falls exactly where they’re needed. Floating over timber or a membrane, it becomes its own little slab, at roughly 40mm minimum with mesh through the middle to keep shrinkage cracks in check. We mix and lay screeds to suit what’s under them and what’s going on top.
Self-levelling compounds
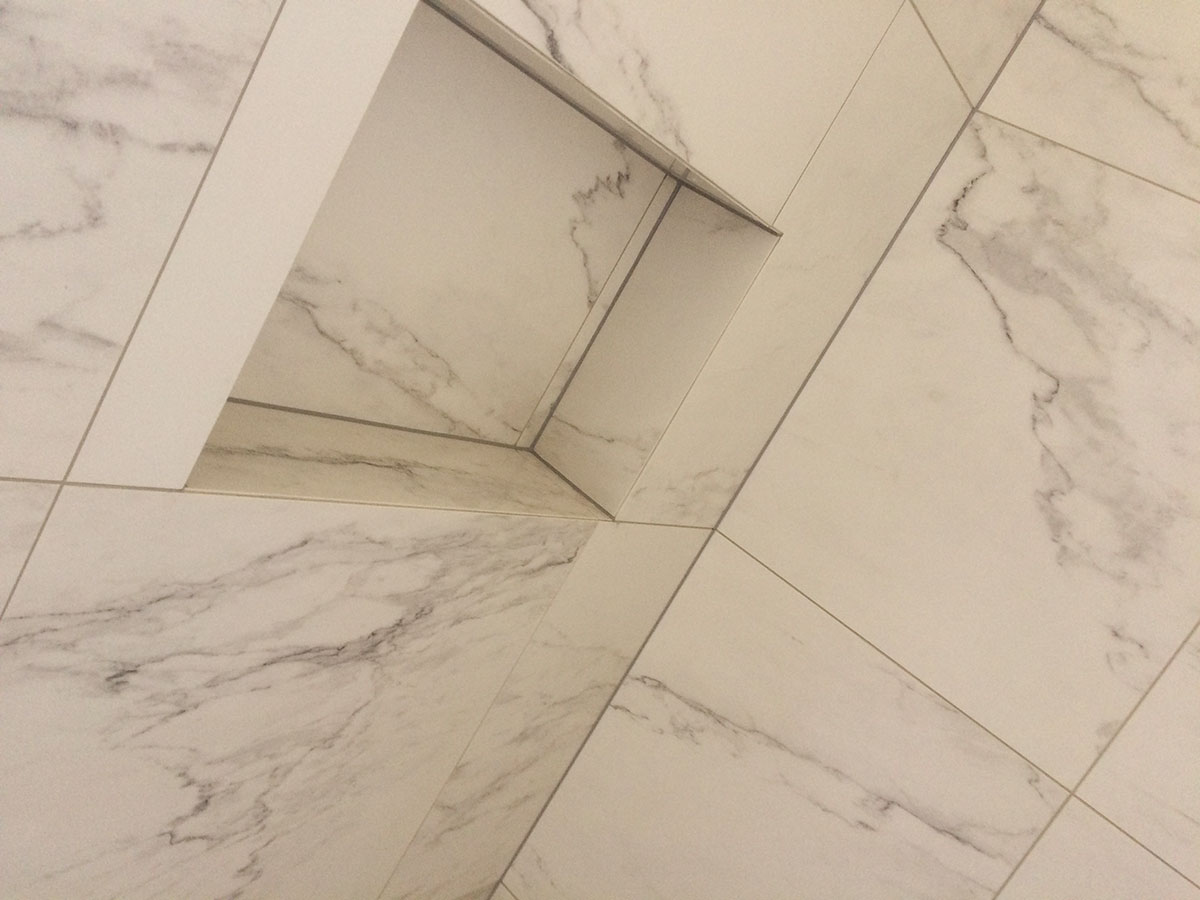
Picture a slab that drops 20mm from one side of the kitchen to the other. Chasing that with adhesive is a bad time. A self-levelling compound fixes it in one pour, finding its own flat surface from a few millimetres thick up to around 30mm, and the fast-drying versions can take tiles remarkably quickly. The catch is that self-levellers are only as good as what they’re poured onto, which is why the prep before the pour matters more than the pour.

Concrete slab preparation
New concrete looks ready for tiles long before it is. The surface carries laitance, a weak skin of cement fines that grinds off in minutes but will shear off later if it’s left under adhesive. Curing compounds and dust do the same quiet damage. So slabs get ground and primed to suit their absorbency, then moisture-tested rather than guessed at. A slab takes about 28 days to cure. Drying takes a lot longer than that.
Timber floors and underlays
Tiling straight onto particleboard fails. Not sometimes, predictably. The board moves and swells, and the tiles let go. Over timber we fix fibre-cement underlay at tight screw centres, or float a screed above the boards. And if the floor itself bounces underfoot, we talk about stiffening it first, because a floor that flexes past its deflection limit will crack tiles no matter what’s glued between them. If your tiles are already cracking, that diagnosis is our tile repair department.

Screeding over underfloor heating
Alongside the levelling work comes heating encapsulation. Cables or pipes get locked into the screed with proper cover, then the system is commissioned with gradual heat-up cycles rather than switched straight to full temperature, so the new screed isn’t thermally shocked into cracking. We do this hand in hand with our underfloor heating installs.
Falls, joints and wet areas
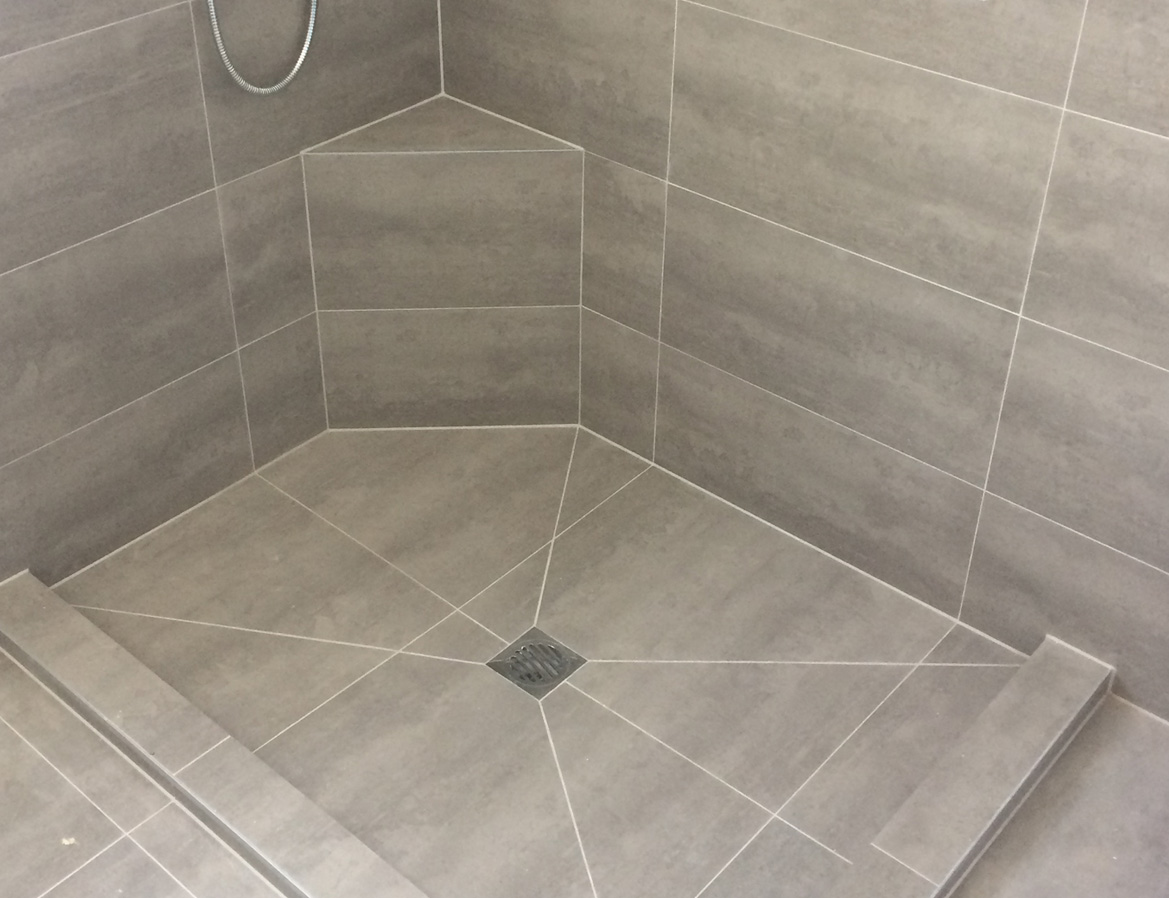
Where should the water on a bathroom floor end up? At the waste, and the screed is what sends it there. Falls get formed in the screed, never faked later in adhesive or membrane. Large pours get movement joints so the screed can breathe, and tile joints land on top of them. In wet areas all of this happens before the waterproofing goes on, which is exactly the order it has to happen in.
Floor preparation across Auckland
Screeds and levelling take us onto every kind of site. Papakura and Takanini through Manukau, Howick, Pakuranga and Botany in the south and east. Remuera, Ellerslie, Epsom and Mount Eden through the middle. Henderson and New Lynn out west, and the North Shore over the bridge.
On a Tuesday it might be a new-build slab that needs falls screeded into three bathrooms. By Friday it’s a garage conversion where the old slab dips 30mm into one corner, or a villa where a hundred years of timber movement has to be tamed before a single tile goes down. If your suburb isn’t in the list, ask. The answer’s usually yes.
How it works
What to expect
Inspect and measure
First the straightedge comes out, and the moisture meter with it. We check how flat the floor is and how much it moves, then look for cracks and damp. You get told what the floor actually needs, which is sometimes less than you feared.
Fix the substrate
Then the foundation work. Laitance and contamination get ground off and the slab primed to suit. Timber gets its underlay. A floor that flexes gets stiffened before anything else happens.
Screed or pour
Next the screed or self-leveller goes down. Falls are formed into it for the wet areas, mesh goes through anything that floats, and big pours get their movement joints.
Cure, test, tile
Last, patience. The screed cures, gets moisture-checked where it matters, and only then do the tiles go on. Rushing this step is how new floors fail.
Done properly
Why choose Hi Tech Tiling
Plenty of trades can pour a screed. The difference with having tilers do it is that we prepare floors for the exact finish going on top of them. Flat enough for large-format porcelain, which in practice means no more than about 3mm under a 2m straightedge. Dry enough to bond to, proven with a meter. Stiff enough that the grout lines survive the next decade.
We follow the same substrate guidance the industry does, including BRANZ’s Level guidance, and because we also lay the tiles there’s no handover gap where the screeder blames the tiler and the tiler blames the screed. One crew owns the floor from bare substrate to finished tiles, and our workmanship is guaranteed at every layer. Builders get a sub-trade that turns up when the programme says. Homeowners get a floor that doesn’t come back to haunt them.
Good to know
Floor prep questions, answered
How flat does a floor need to be for tiling?
The working rule is no more than about 3mm of deviation under a 2m straightedge, and large-format tiles reward better than that. A flatter floor means less lippage. If your floor is outside that, levelling is cheaper than living with tile edges you catch your toe on.
Can you tile straight onto particleboard?
No. Particleboard moves and swells, and tiles glued to it let go. The floor needs fibre-cement underlay screwed over it, or a floating screed, before tiles are an option. Anyone who quotes you tiles straight onto particleboard is quoting a redo.
How long before a screed can be tiled?
Depends what went down. Fast-drying self-levellers can take tiles within days. Traditional sand-cement screeds want longer, and new concrete slabs longest of all: roughly 28 days to cure and considerably more to dry out. We moisture-test rather than guess, because the calendar lies and the meter doesn’t.
Why did my levelling compound peel up?
Because it bonded to dust, laitance or a curing compound instead of the concrete. Self-levellers are unforgiving about contamination. The slab has to be ground clean and primed correctly or the pour comes up like a biscuit. Done properly it stays down for the life of the floor.
Can you screed over underfloor heating?
Yes, that’s the standard way heating cables and pipes get installed. They’re encapsulated in the screed with proper cover, and once everything has cured the system is warmed up in gradual cycles rather than blasted, so the screed and tiles aren’t shocked. We handle the heating and the screed together.
My villa floor bounces. Does that rule out tiles?
Not at all, but the bounce has to be dealt with first. Floors that flex past their deflection limit crack tiles and grout, so we stiffen the structure or build the floor up until it’s rigid enough, then tile. It adds a step. It also means the tiles survive.
Talk to Hi Tech Tiling
Planning a tiled floor, or staring at one that failed? Send us the details and we’ll tell you what the substrate needs before anyone talks tiles. Call 021 681 166 or send through the details.
Hi Tech Tiling, 3 Bellfield Road, Ōpaheke, Auckland 2113. Phone 021 681 166.